
Is it possible to make your own thermal scope? Turns out, it is, and the process is relatively easy if you know your way around a soldering iron.
Making a thermal scope at home is just a case of connecting the parts together. So here’s all you need to know about making your very own thermal optic.
How Do You Make a Thermal Scope
Thermal Optics Manufacturing
This method is more a case of assembling rather than manufacturing. Manufacturing a microprocessor, grinding and sizing a lens, and then coating it with the correct amount of germanium requires a lot of technical expertise.
Additionally, the optic will need a display screen, and huge manufacturers crank these out in bulk and cheaply because they have an assembly line-making process. But making a screen as a one-off, like your home build, is possible but also quite expensive (doing things in bulk decreases the price per item).
DIY Thermal Imaging (Is It Possible?)
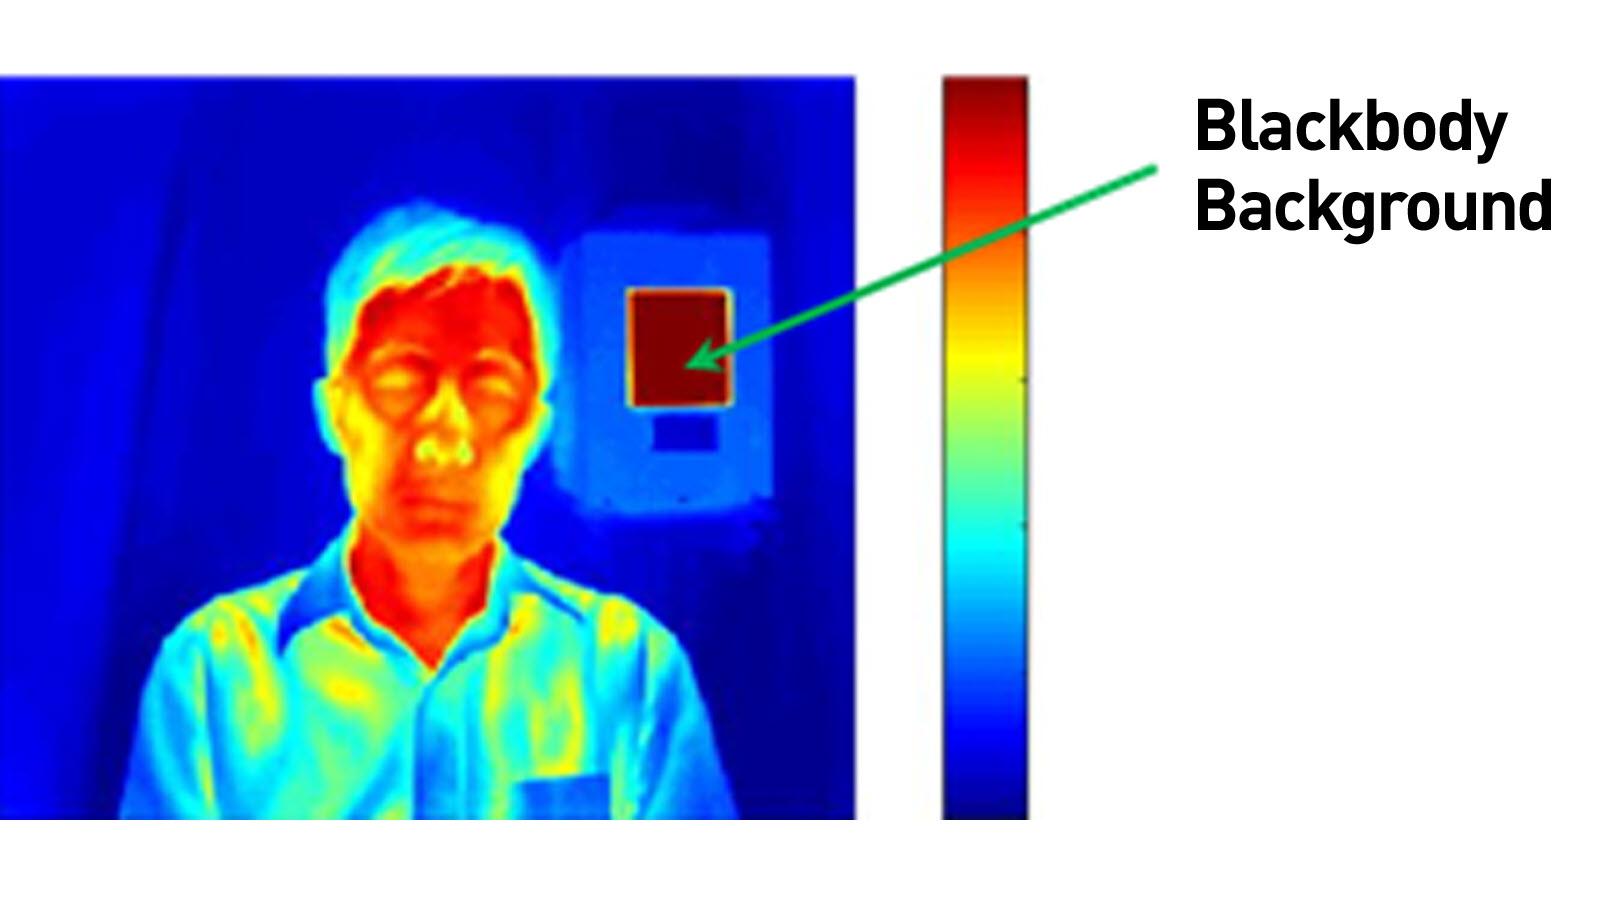
Yes, making a thermal imaging device for yourself is possible. Most people who build thermal optic devices make cameras, taking existing digital image devices and converting them to produce a thermal optic. (1)
Frankly, that’s the easiest way to do this at home. Rather than make a ground-up thermal scope, create a thermal device to add to an existing scope. That way, you don’t have to worry about placing lenses, getting the distance and focus correct, and trying to make reticles. (2)
What Makes a Good Thermal Scope?
A good thermal scope has to start in the same place as all optics – quality lenses. In the case of plain lenses, glass is everything. The rest of the device is just a box to hold the glass.
However, thermal adds another step. You must have quality electronics to have a good thermal scope.
You see, the image resolution and the refresh rate are both determined by the processor.
Now, refresh rate is how fast the image cycles, and higher refresh rates mean the screen won’t freeze or lag as often, creating a smooth image. Image resolution refers to the pixels on a screen; similarly, the higher, the better for clarity.
So, getting a processor that can hold up its end is crucial for an operable thermal scope.
CPU
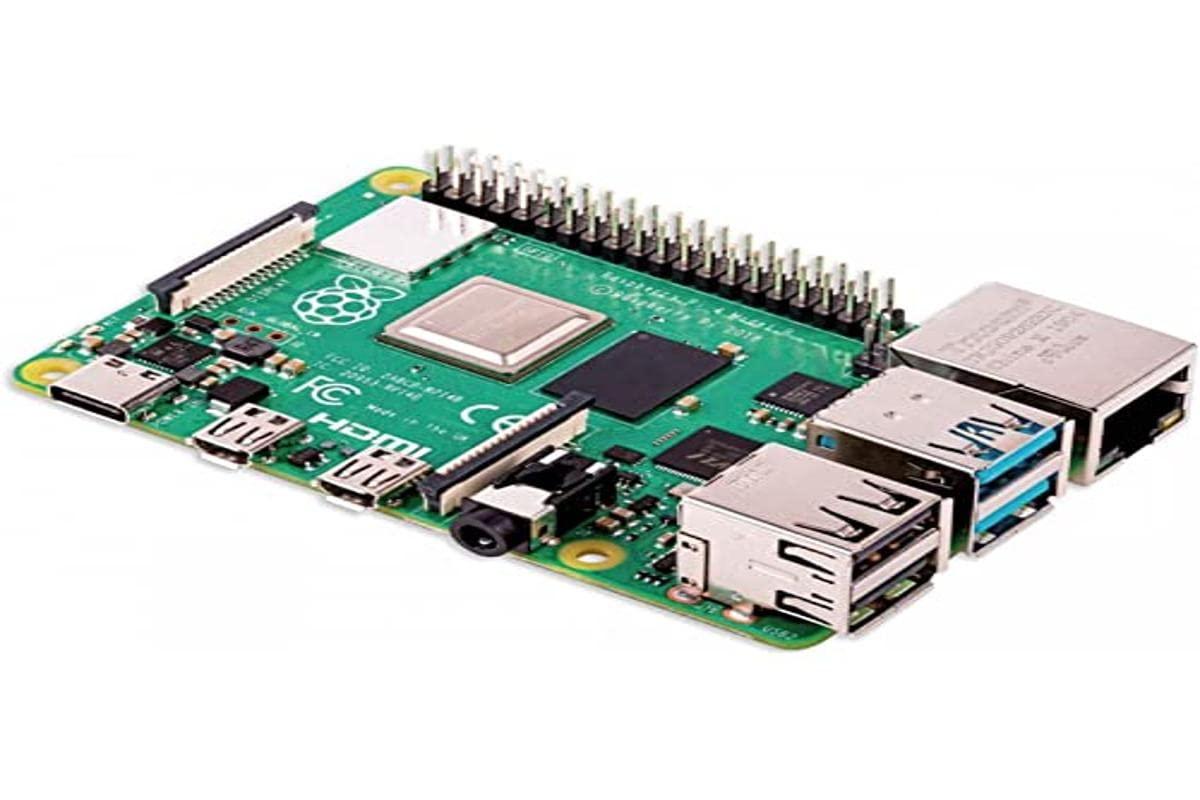
CPU stands for Central Processing Unit, and it’s the heart of the device.
You need a small CPU. So think smartphone and smaller. You’ll require a “single board mini-computer,” and the Orange Pi is a good choice.
Whatever you get, it must have a camera port. Two USB ports are good, but in a pinch, you can get by with one.
Screen
You need a display screen. This connects to the CPU and shows the image captured by the camera.
Any small screen will do this as the display doesn’t care if the image is visible light or infrared light from a heat source.
Make sure this can connect to the CPU.
Camera
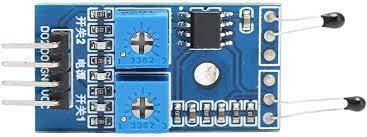
You must have a thermal camera unit. By camera, we mean the internal parts: the lens/ sensor and the microchips. What the sensor and a dedicated CPU does is convert the heat image into visible light for the screen.
This part of your setup is going to look like a circuit board. Frankly, the camera part will not look like any camera you’ve ever seen.
The camera and sensor will determine the quality of the image. Like any other digital image, this image is measured in pixels, and higher numbers are better for quality. The camera’s resolution can be higher than the screen resolution and vice versa, but the lower pixel count is what you will see, regardless of the other device’s numbers.
Again, you must ensure the sensor can connect to the CPU.
Power Supply
As you may know, thermal devices need a power supply. We recommend reading the manufacturer’s specs on the main CPU to see what it requires, as the main CPU will power everything else. So, make sure to buy the needed batteries and a way to connect them to the CPU.
This is where the soldering iron comes in. You can buy a battery holder and solder the leads to the CPU’s power port.
Depending on the CPU, you can get a clip-on power supply. In that case, you may need to buy the appropriate electrical connector clips, but no soldering is needed. You can find these at any good hardware store in the electrical department.
Side Note: Soldering does create a better and more secure connection.
Assemble
With all the parts in one place, now assemble and test them. Most of it is plug & play. Once you get the power connected, you should be able to test the setup by waving your hand over the screen.
To turn this into a scope, you have to make a mounting system to clip the sensor to the eyepiece on your scope. You can do this with a scope cell phone adapter (you may have to adjust the distance between the sensor and the rear lens to get the best image).
Recoil
A brief word about recoil – a homemade thermal device cannot handle much recoil. Anything over a light load .223 and your parts will not hold up. They will break. It’s why thermal scope makers go to great lengths to recoil-proof their scopes.
Which Thermal Rifle Scope Manufactures Are The Best?
With the rise of popularity of thermal optics has came an explosion of new thermal rifle scope manufacturers to keep up with the demand, unfortunately many times at the expense of quality. Make sure to check out our full article on the subject to see which ones are we recommend and which ones should be avoided.
Frequently Asked Questions
How to make a target show up in a thermal scope?
To make a target show up on a thermal scope, it has to give off or reflect heat. If you need to see an inanimate target like paper, put aluminum foil squares on it. The foil will reflect heat and show up.
What is a thermal scope made of?
The thermal scope is made up of electronic circuit boards, a camera/sensor that can pick up heat signals, a display screen, and a power supply.
Can you add thermal to a scope?
You can add thermal to a scope. In fact, several companies offer clip-on thermal devices that attach to the front or rear of traditional rifle scopes.
What magnification is needed for thermal scope?
The magnification you need for thermal scopes depends on the use. Magnification can be as high or low as required for the task at hand. For shooting and hunting, 1-12x is usually enough.
References
- Instructables, Make Basic Infrared Thermal Imaging Camera for Cheap !, retrieved from https://www.instructables.com/Make-Infrared-Thermal-Imaging-Camera-for-Cheap-Con/
- Hackster, Save Money by Building Your Own High-Resolution Thermal Camera, retrieved from https://www.hackster.io/news/save-money-by-building-your-own-high-resolution-thermal-camera-b26672648e94
I have been writing firearms and outdoor material for over 50 years to date. I have hunted across the world, including Russia, and a great deal of time professional hunting in Australia. I currently live in the American West and hunt all across the Black Hills of South Dakota and the Big Horn Mountains. I have specialized much of my work as a load developer in shotguns and rifles. I have run a small company that builds suppressor barrels of my design and load tests for writing purposes and consulting. My commercial names include Ballistics Research & Development / Metro Gun Systems TM.
Or contact me at:
- Email me at LP@riflegearlab.com
- Follow me on Facebook
- See my website
- Buy my book: Gun Digest Guide to Modern Shotgunning
- Buy my book: The Gun Digest Book of Long-Range Shooting


